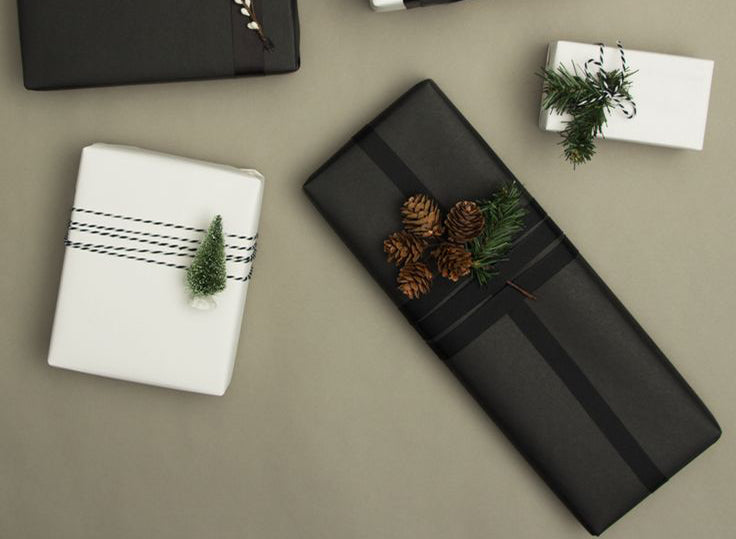
How To Wrap A Skateboard
Share
The reason why wrapping a skateboard seems challenging is because of its strange shape. However, it can be done. You can wrap a complete skateboard, including its skateboard, wheels, and additional hardware, or wrap the individual pieces separately to make things easier.
Skateboards come in a variety of styles and sizes, which makes wrapping them complicated. However, the average size of a skateboard is about 8 inches wide x 30 inches long. Therefore, wrapping a skateboard deck is simple, but wheels and trucks can be slightly more complicated.
Those who have a box that fits the entire skateboard (including the wheels) can easily accomplish this by using that box. If you are saving the extra cost as a gift, check that you have a container large enough to hold the skateboard. However, if you don't have the right box, that's fine.
As a result, skateboards have a unique look. Therefore, you want to wrap it in a way that the recipient won't immediately realize what the gift contains.
That's why we recommend that you wrap the skateboard in something thick (like butcher paper) so the wheels don't tear the wrapping paper.
A complete guide on how to wrap a skateboard in butcher paper
Before you start wrapping your board, read the steps carefully and make sure you have everything you need.
1. Get out the butcher paper
If you want to hide the shape of your skateboard but don't have a box, butcher paper is a good option for wrapping. Other thick paper can also serve this purpose before adding wrapping paper.
2. Start wrapping the skateboard
Take the paper and wrap it around the skateboard several times to create a flat surface. Use tape to secure the paper in place and pull everything tight to hide the board.
Once completely covered, you can add wrapping paper. Flip the board so the wheels are facing you. When finished, you will have a flat surface. Carefully wrap the gift and avoid creating too much pressure.
3. Use a tape
When you wrap a gift, you should use more tape than you think. Due to the large size and odd design of the skateboard, the tape will ensure that everything sticks together. Also, make sure the corners are turned in at the end so that the edges are flat and cover the sides.
Once you're done, you can decorate with ribbons, add thin paper, or come up with other ideas to make the gift special.
4. Wrap a skateboard in a box and wrapping paper
If you already have a box, making a skateboard gift is more manageable than expected. It's a fun way to wrap a gift in a flat package that's completely different from a skateboard.
Take measurements
5. Use a tape measure to measure the height, length, and width of the skateboard.
Measure from one end to the other to get the most accurate numbers. Then, write these numbers down somewhere so you can find them later in the process.
6. Prepare your box
Remove the labels from the bottom and top of the box, then use a cutter to cut off one of the corners from top to bottom to unfold it. Finally, remove all remaining tape from the box to create a straight piece of cardboard for the wrapped skateboard.
7. Arrange the required items
Next, you will place the skateboard on the cardboard. Make sure there is enough room on the paper to cover all the hardware. Before proceeding, review both sections to make sure you have enough. Create another piece to use as a gift cover.
8. Cut to Scale
Observe cutting a line across the cardboard and removing the excess. The edges should be as straight as possible as you continue to move down the board. Use a ruler and pencil to draw a line, or if easier you can trace with scissors or a razor blade.
9. Closing the slide
After you have measured everything, you should place the skateboard on a cardboard. Fold the sides to cover them and then close the box by placing another piece of cardboard on top. Make sure all sides are taped with packing tape.
10. Wrapping the skateboard
Pick up the wrapping paper and place the box in the center with the skateboard in the middle. Make sure there is enough room on all sides to overlap the edges. Look at each side to make sure the gift is evenly covered with gift wrap.
Starting with the long side, wrap the box one section at a time. Fold the paper and pull it tight around the edges to create a crisp edge. As you move along the surface, you can begin to attach some of the wrapping paper to the box.
11. Add more gift wrap
Place more paper at the top of the box, covering the bottom paper you have already taped. The edges of the base should be completely wrapped in sheets. Then, glue the edges to the sides and use tape to hold them in place.
Create triangular flaps at the top of each side. Fold the sides flat and move them down. The mouth flap should be pressed onto the box before finishing with more tape.
12. Finish with embellishments
If you have a ribbon, pull it over the top of the box. Hold it as you pull it tight to hold it in place. You can also Google other ideas to jazz up your gift. Then, add a card, place it where you intend to place it, and you're ready to go.
